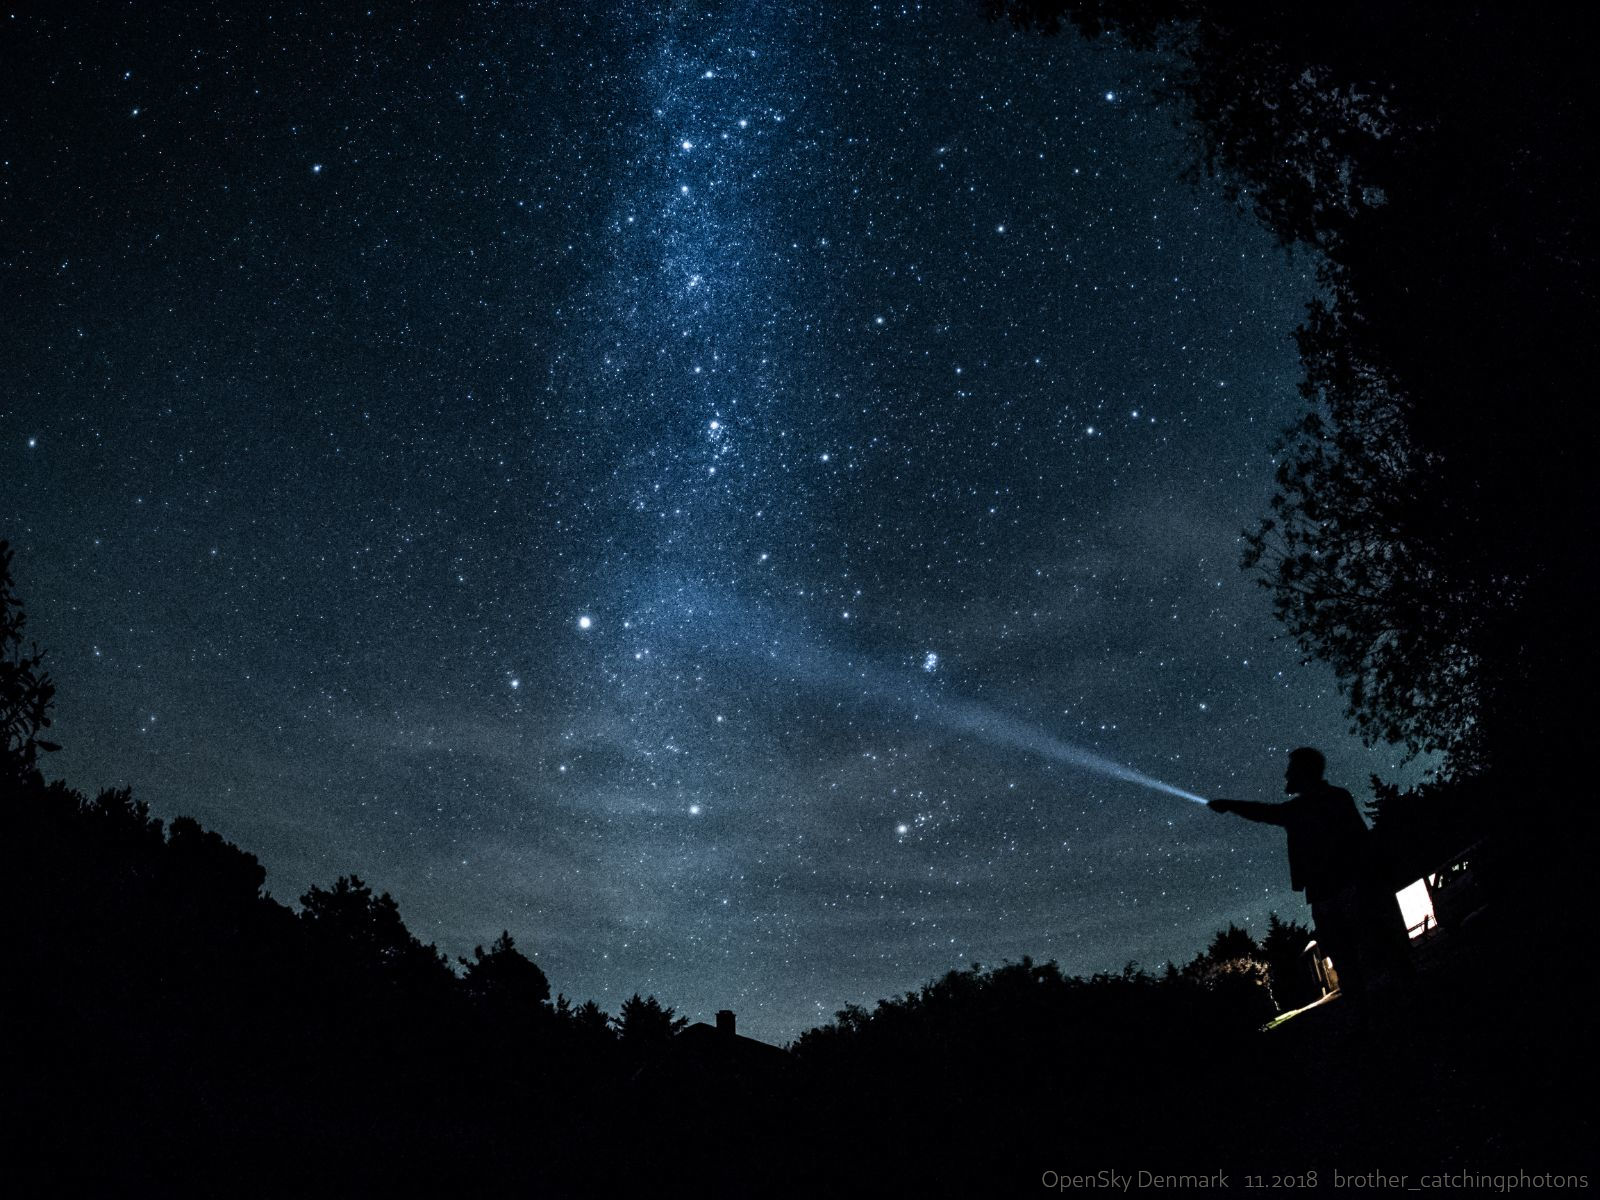
#22: Autoguiding – Failures and wasted time

31.03.2019

Skywatcher @ Work

New aspect: Trying autoguiding for the first time

Guiding basics:

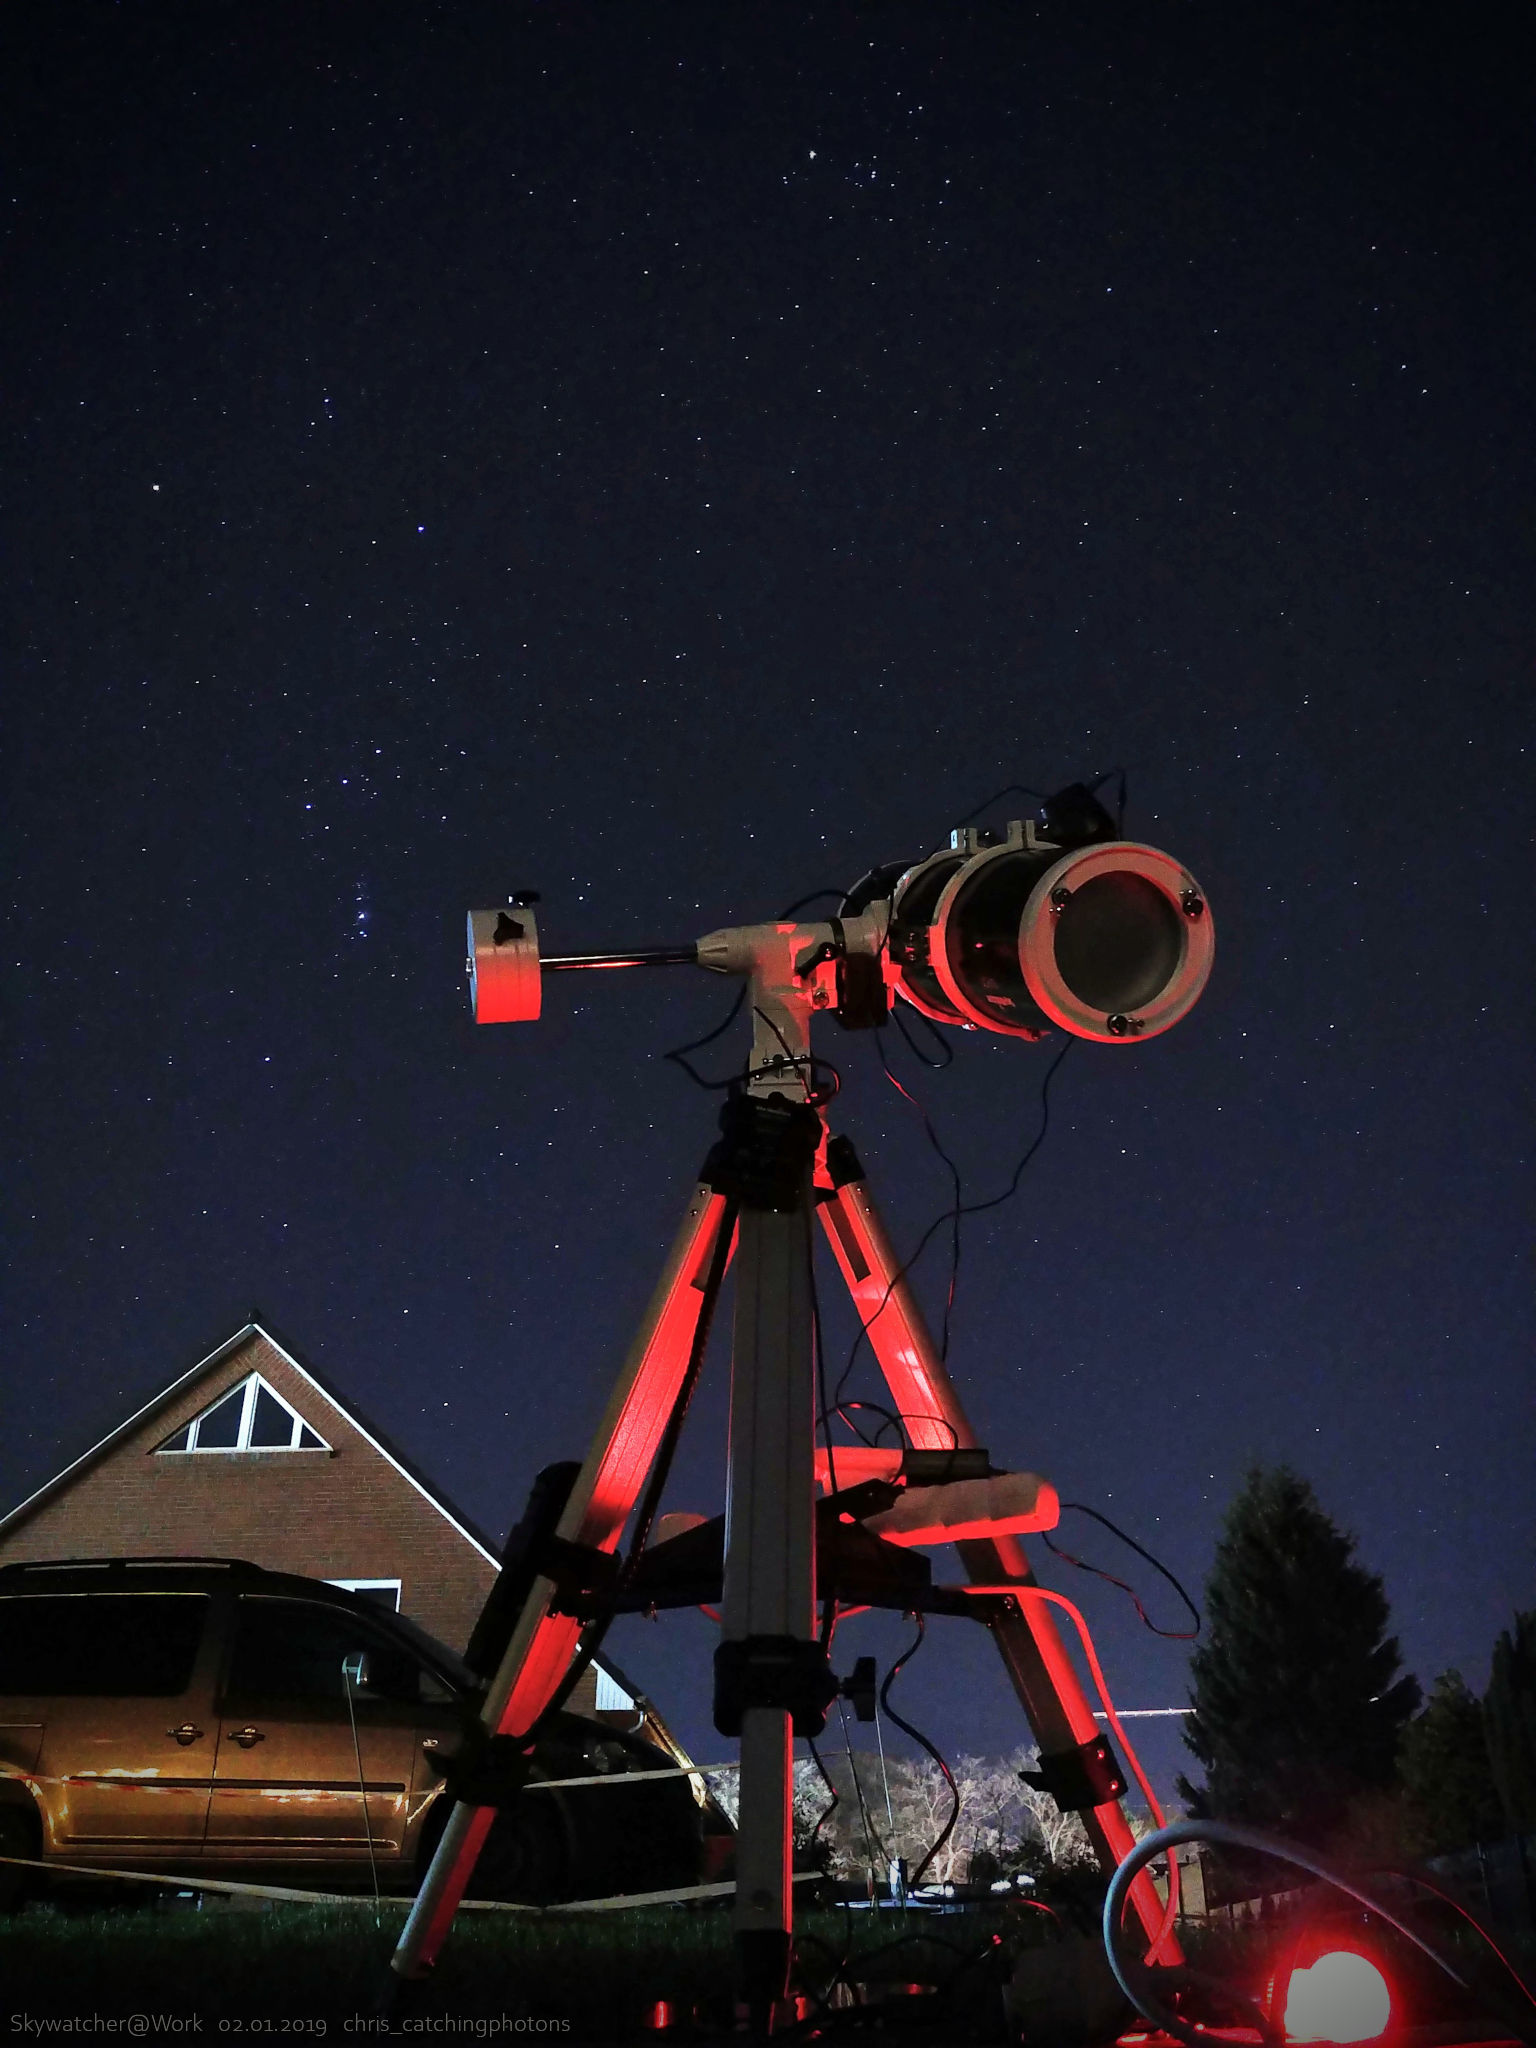
During the last sessions I slowly build up the dream of autoguiding my images. There are many advantages of having a guidecam with a guidescope attached to your main scope.

  1. The ability to use the guidescope for advanced polar alignment in phd2. There you use the attached scope to trace movements of stars to determine the polar alignment offset. Phd2 is then able (because it’s clever) to give informations about with direction you need to nudge the scope in order to perfect the alignment.
  2. The ability to use the guidescope with its cam to plate solve. Plate solving is the ability of the PC to count the stars on a given image and compare it to a given database in order to determine the current position of that image in the night sky and give a set of coordinates as an output. Some of you might ask: Why not use the main camera for that? Well, upon now I used the old Olympus E510. This camera can not easiely be controlled by a PC. So in order to use the main imaging cam for plate solving I would have to take a picture, grab the CF-card, transfer the image to the laptop… Long story short: once set up, I don’t want to touch the main camera any more (focus!). Problem is: I need to align the polar scope and the main imaging scope properly in order to use the plate solving abilities sufficiently.
  3. Last but not least: The ability to guide with phd2 to
    1. increase the exposure time! I was up to 60 seconds on lucky sessions, others were more like 50 seconds.
    2. stabilize the framing. Without guiding I had the problem that the image would shift ever so slightly. Even when 60 seconds would give me pin point stars, a night long session would result in a noticeable movement of say half a screen! So I needed to go out and slew back to the original position from time to time. With guiding phd2 would check that for me.
    3. increase the reliability of the system. Without guiding I used say 1/3 of the images max! Some sessions were down to one image out of every 5 frames or so. That was due to bad alignment and other imperfections of my mount. Increasing this quota would give me much more data on a given target!
„#22: Autoguiding – Failures and wasted time“ weiterlesen

#21: Crab nebula with short exposures & failed polar alignment with M81

25.05.2019

M1 Crabb Nebula – 32 min integration time: 20sec Sub @ ISO1400

New aspect #1: Failed polar alignment issues

New aspect #2: Capturing an object with high ISO and low exposure time

Image acquisition:

M81: On this night I originally wanted to capture more data on M81 and M82 to increase the quality of this image by a factor. So I set up my rig as usual:

  • level tripod and mount
  • balancing scope with gear attached
  • polar alignment with polar scope
  • refined polar alignment procedure from skywatcher with tow given alignment stars
  • one star alignment close to the target
  • find the target
  • start the session
„#21: Crab nebula with short exposures & failed polar alignment with M81“ weiterlesen

#20: M81 and M82

16.02.2019

New aspect: Stay long on two galaxies

M81/82 – 1h29min integration time: 50sec Sub @ ISO400 +1C temp

Image acquisition:

This time I wanted to capture tow cool galaxies in one frame. I searched Stellarium the day before and found those two beautiful galaxies. They fit into the FOV of my camera/scope as I use an old Olympus E510 and a Skywatcher 150/750 Newtonian reflector. Challenge was to frame the objects right into one frame and not accidentally cut one galaxy off. So I chose a high ISO 1600 (max with my camera) and like 60’ test frames to locate the galaxies. Due to my little mount with high inert slewing errors I had a hard job of even finding the two of them. After that I needed to fit them into one frame. My sister and her fiancé can tell the story of me trying to move the scope just ever so slightly than taking a test shot, wait for 60’ then reslew. Than me realising I slewed in the wrong direction. Me reslewing again. Taking another test shot. Off again. Where are the galaxies at all? Reslew. Test shot. Searching….. Uff! It was tough.

„#20: M81 and M82“ weiterlesen

#19: Visual observation of M42 Orion Nebula

31.01.2019

Skywatcher @ Work

New aspect: Visual observation of DSOs

Image acquisition:

This two images of the Orion Nebula were taken using a smartphone hand-held in front of the 2” lens. This evening I observed a few DSOs with my Skywatcher 150/750 Newtonian on my little Skywatcher EQ-3 Pro mount. Doing visual astronomy is normally not really my thing but I wanted to give it a try. I was surprised, how much of M42 the Orion Nebula was visible trough my little 6” newtonian scope. But than I couldn’t resist to hold my LG G6 in front of the lens to shoot some images. I then tried to get the exposure time of that single frame exactly in such a way that it would match the experience with the eye. So here they are:

„#19: Visual observation of M42 Orion Nebula“ weiterlesen

#18: Jupiter and Venus

23.01.2019

Jupiter and moons with 3x barlow and Logitech webcam

New aspect: Taking an image of Jupiter

Image acquisition:

I took video files of both planets on the morning of the 23th of January. It was a Wednesday so I was (again) in a hurry. Setting up the scope was not that hard but keeping the last trouble with the moving Venus in mind I took one more look through the polarscope to align a bit more properly than last time. Then I searched and found Venus. Again the planet was so incredible bright, that was not able to choose the right settings for exposure and focus. I tried my best ether way. Jupiter was a more easy part. I did some over exposes videos to capture the moons of Jupiter and then fiddled around to find the sweet spot for exposure, gain and “brightness” (whatever this item means). I finally managed to grab three files before I had to end the session. Focus? A nightmare!

„#18: Jupiter and Venus“ weiterlesen

#17: Return to M42 Orion Nebula

02.01.2019

Skywatcher @ Work looking at M42

New aspect: Return to M42 to gather more data

Image acquisition:

This time I had one target and one target only in mind (finally managed to obey my own rule!): M42. The last session gave me 32x1min light frames to work with and hence a lot of noise in the image. After setting up the scope I was about to frame the image. This was my first do-over of an object where I was about to ADD data to my already captured data-pool. I had already framed an object to my wishes as I framed M31 (Andromeda) to snugly fit into my DSLR frame. This time I had to match the previous image framing with enough precision to be able to add the two sessions together. My problem about this was that my mount tended to move even so slightly from frame to frame. So first and last frame and all the counter-re-framing had to fit as well. I did my best and framed M42 after focusing on a nearby star with my bartinov-mask. Then I hit the “run” button.

„#17: Return to M42 Orion Nebula“ weiterlesen

#16: Venus, Andromeda and the Orion Nebula

05.12.2018

M31 Andromeda Galaxy – 40x 1min Sub @ ISO400

New aspect: Revisiting a target to improve quality and seeking for the next

Image acquisition:

Venus: This was a shot in hurry. On morning the 5th of December I set up the scope in a hurry to capture Venus. Polar alignment, balancing: All quick and dirty because of the limited amount of time. The result was a hard job to even find Venus with the scope and the attached webcam. After finding Venus I struggled with the right driver-settings. Venus was so incredible bright that even focussing was a nightmare. The bad polar alignment made I just worse. Venus, taken with a 3x barlow, hurried to leave the FOV whenever I thought that I got the settings right. Then I needed to reslew and start all over again. I managed to capture one video file with a very unstable Venus and an unclear focus.

„#16: Venus, Andromeda and the Orion Nebula“ weiterlesen

#15: Dancing Moon and Venus

04.12.2018

Moon and Venus

Description:

The image was taken at dawn right before sunrise. Moon was three quarters on its way to new moon and Venus was very very bright standing next to the Moon. Because sunrise was close the dark side of the moon was lit enough to see some details. Catching both the bright and the dark site of the moon with the old Canon compact camera was not possible but I took some images of the bright side showing some craters and some images of the dark side (longer exposures) so faintly show some surface details as well. The view of the two bodies in the night sky was very pretty to watch.

Conclusion:

I really want to do a stitching of both sides of the moon – dark and bright side!

Greetings,
Chris

#14: Milky Way image from Denmark

11.2018

My brother in Denmark imaging the Milky Way

Description:

This are two images taken by my brother in Denmark. They show parts of the Milky Way and the Pleiades with my brother standing in the foreground. As the stars shine for him he uses his searchlight to connect with them.

Acquisition and Processing can be told by himself.

My brother in Denmark imaging the Milky Way

Greetings,
Chris

#13: First surface images of the moon

17.11.2018

Moon using Logitech Webcam

New aspect: Taking the first close up surface images of the moon with a modded Logitech webcam

Image acquisition:

When imaging the Mars with the modded webcam in the last session I recognised just how hard it is to get the focus right. So a member of a astro forum (Hi Carole!) pointed me towards the moon. Focusing the moon with its sharp crisp contrast is much more easy than focusing wobbly blurry planets. So I tried the moon as a target for this session. Finding the moon, aligning finder scope and main scope, getting the polar alignment roughly working: all that was done in a minute. Fining the right balance between exposure time, gain, “brightness” and stuff was a completely different story. The Logitech webcam can only be set through the Logitech driver interface and that doesn’t really work smooth with SharpCap, the image acquisition tool I used (and still use). For changing any of the parameters above you have to switch from SharpCap to the driver interface. Gain is called something like “sensitivity” and nobody knows what “brightness” really means… SharpCap has no authority/ability to access the settings of the webcam directly. That’s a shame. So after fiddling around with the settings I tried a few video-files with and without barlow lens. Some were dark, some too bright.

„#13: First surface images of the moon“ weiterlesen