02.01.2019
New aspect: Return to M42 to gather more data
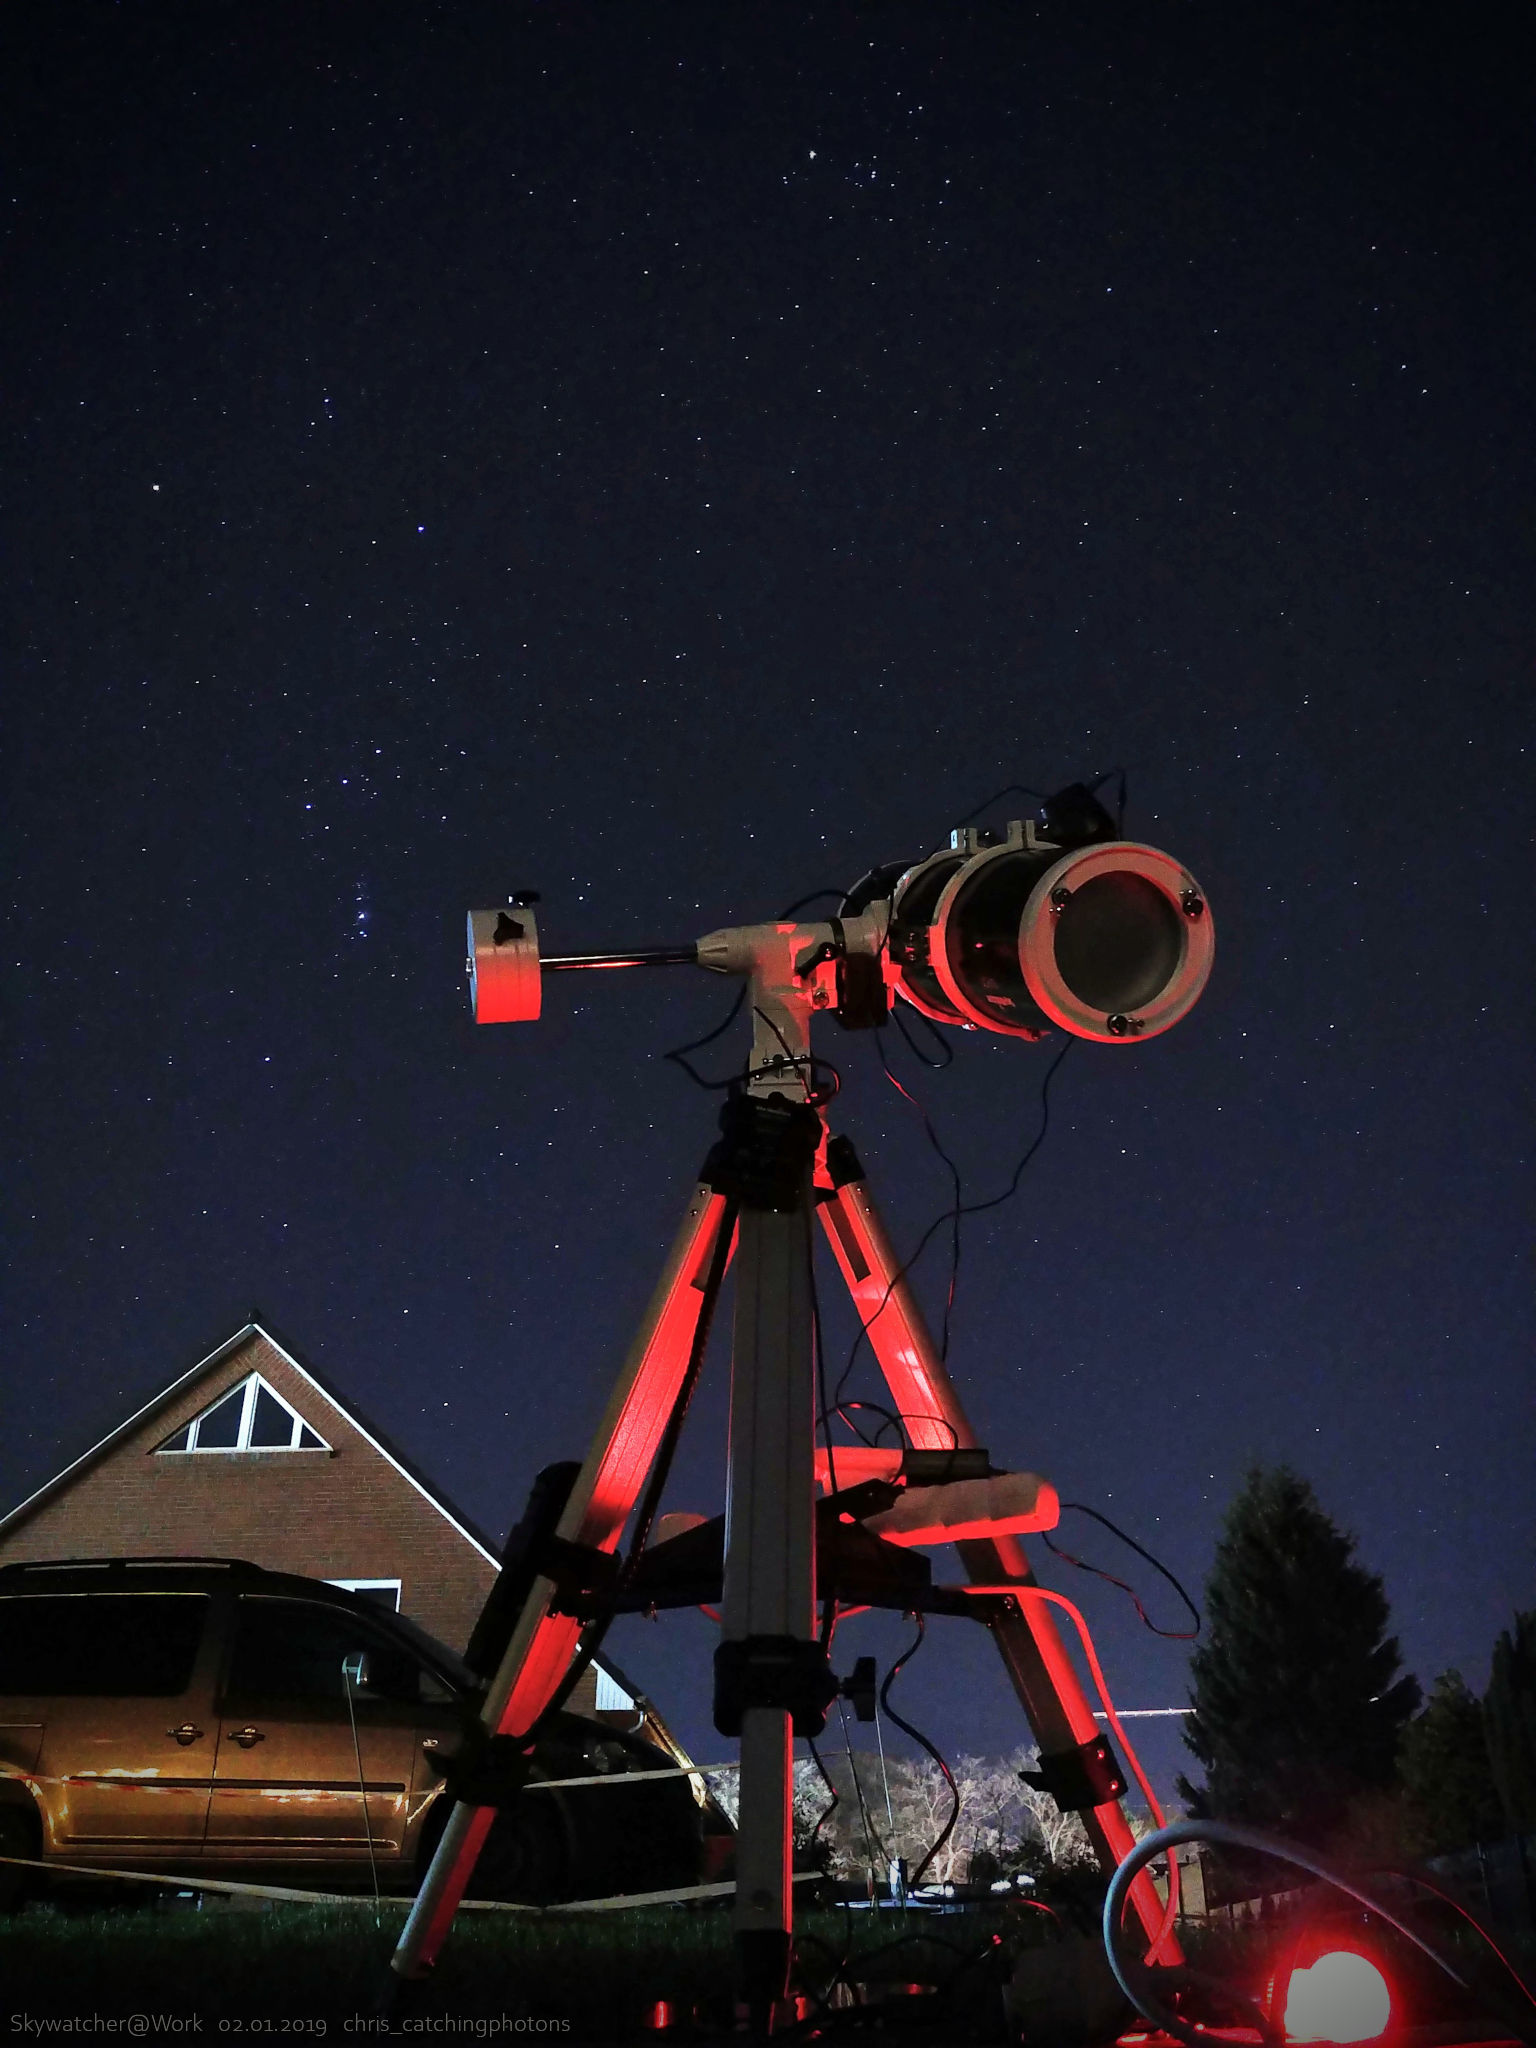
Image acquisition:
This time I had one target and one target only in mind (finally managed to obey my own rule!): M42. The last session gave me 32x1min light frames to work with and hence a lot of noise in the image. After setting up the scope I was about to frame the image. This was my first do-over of an object where I was about to ADD data to my already captured data-pool. I had already framed an object to my wishes as I framed M31 (Andromeda) to snugly fit into my DSLR frame. This time I had to match the previous image framing with enough precision to be able to add the two sessions together. My problem about this was that my mount tended to move even so slightly from frame to frame. So first and last frame and all the counter-re-framing had to fit as well. I did my best and framed M42 after focusing on a nearby star with my bartinov-mask. Then I hit the “run” button.
As I wanted to use both images from this and the previous night, I chose exactly the same camera settings.
Image processing:
First I reviewed all the frames again. Lucky me temperature was nearly the same (~3°C off) so darks and bias frames worked together quite well. Unlucky me the framing was a bit off. As I was not willing to cut ether the nearby running man nebula nor the fainter nebula areas of M42 on the right-hand side I merged the data never the less. The result was a stripe of gradient where the background has data of only one night but dark frames of two nights get subtracted. This result in a darker gradient across two areas in the image. I tried to fix this problem by brighten up this areas only using a layer mask. Never the less some gradient remained. To get around this problem I even tried using data from the second night only. I quickly came to the conclusion that the increase of SNR or the decrease of noise is just worth the little gradient! So I ended with a similar processing flow like last night and a total data of 2h and 37min in total!
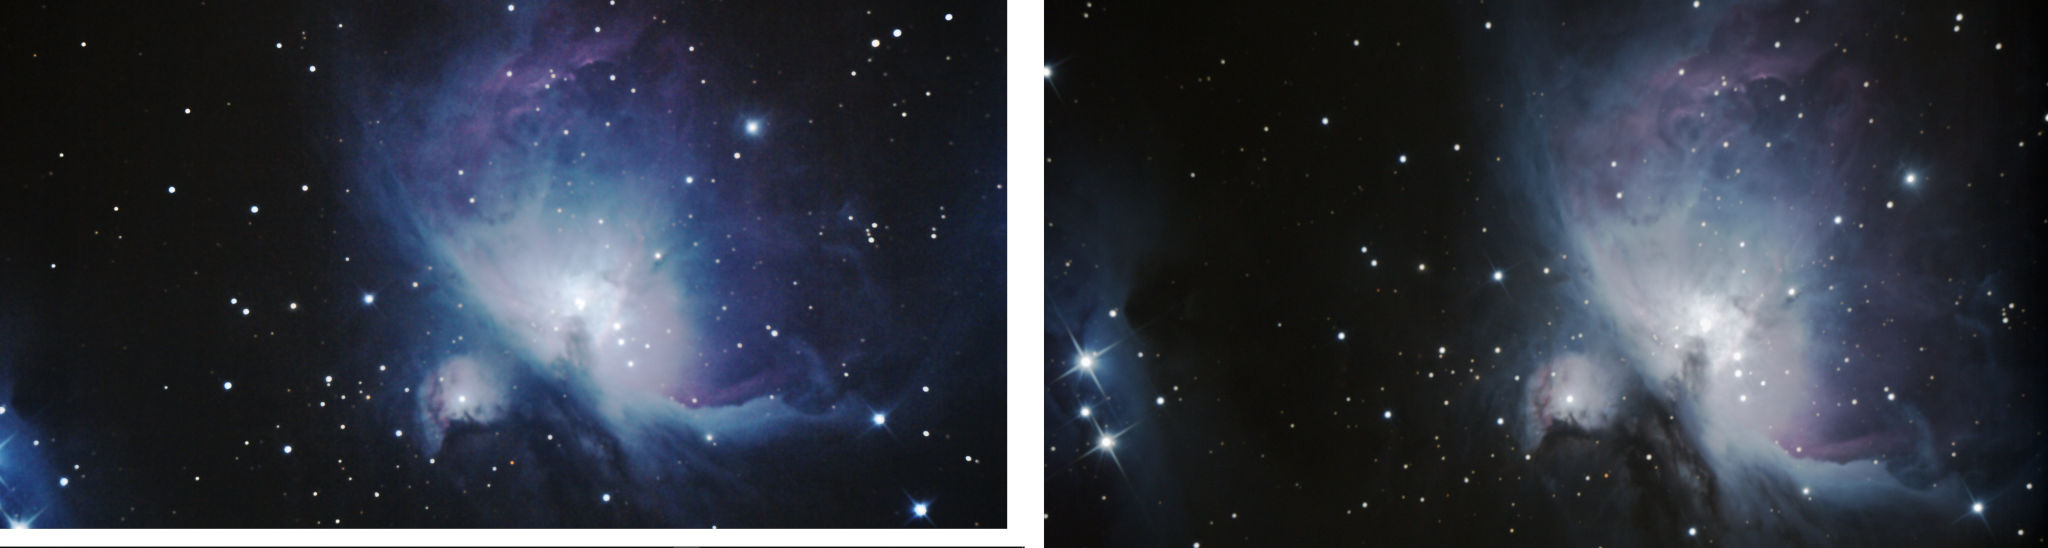
Version 1: This is the final version with light from both nights combined.
Version 2: This is a “smartphone” version of the image. I reprocessed the image on my phone using different sliders. Increasing the saturation just a bit and sliding up the “pop-slider” even more gave me that image. It’s rich in contrast and the core burned out. Ether way: I like it! It’s bright and shiny and the image you can show to impress (only if this person is a non-astro)! 🙂
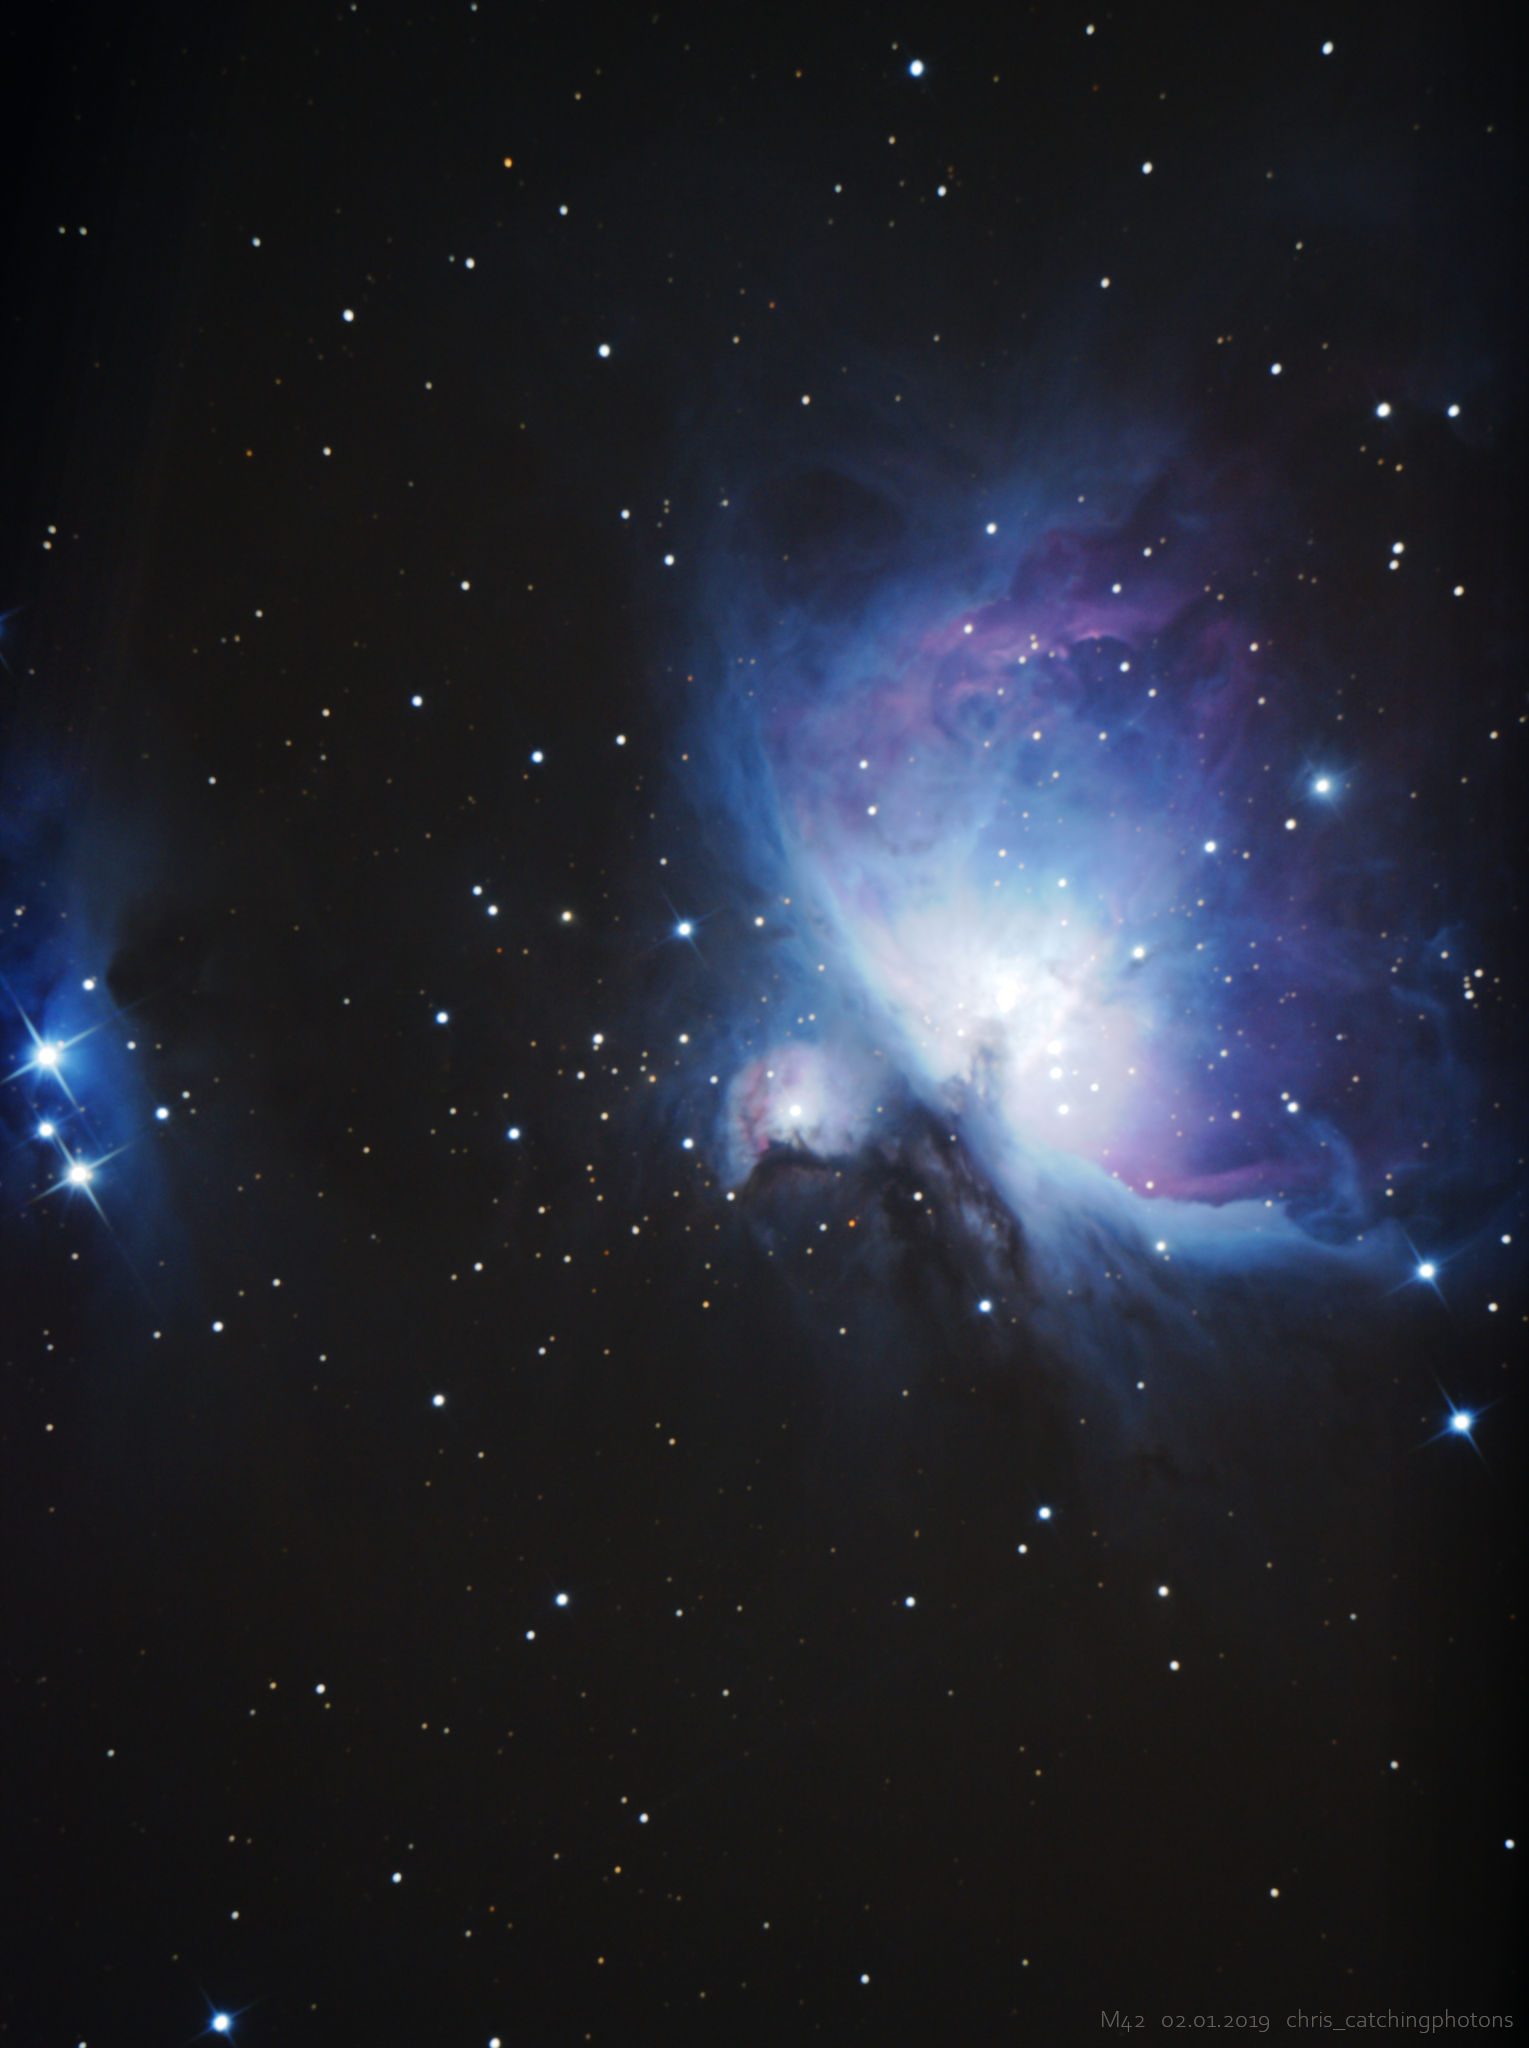
M42 – 2h37min: 60sec Sub @ ISO400 at -3C temp 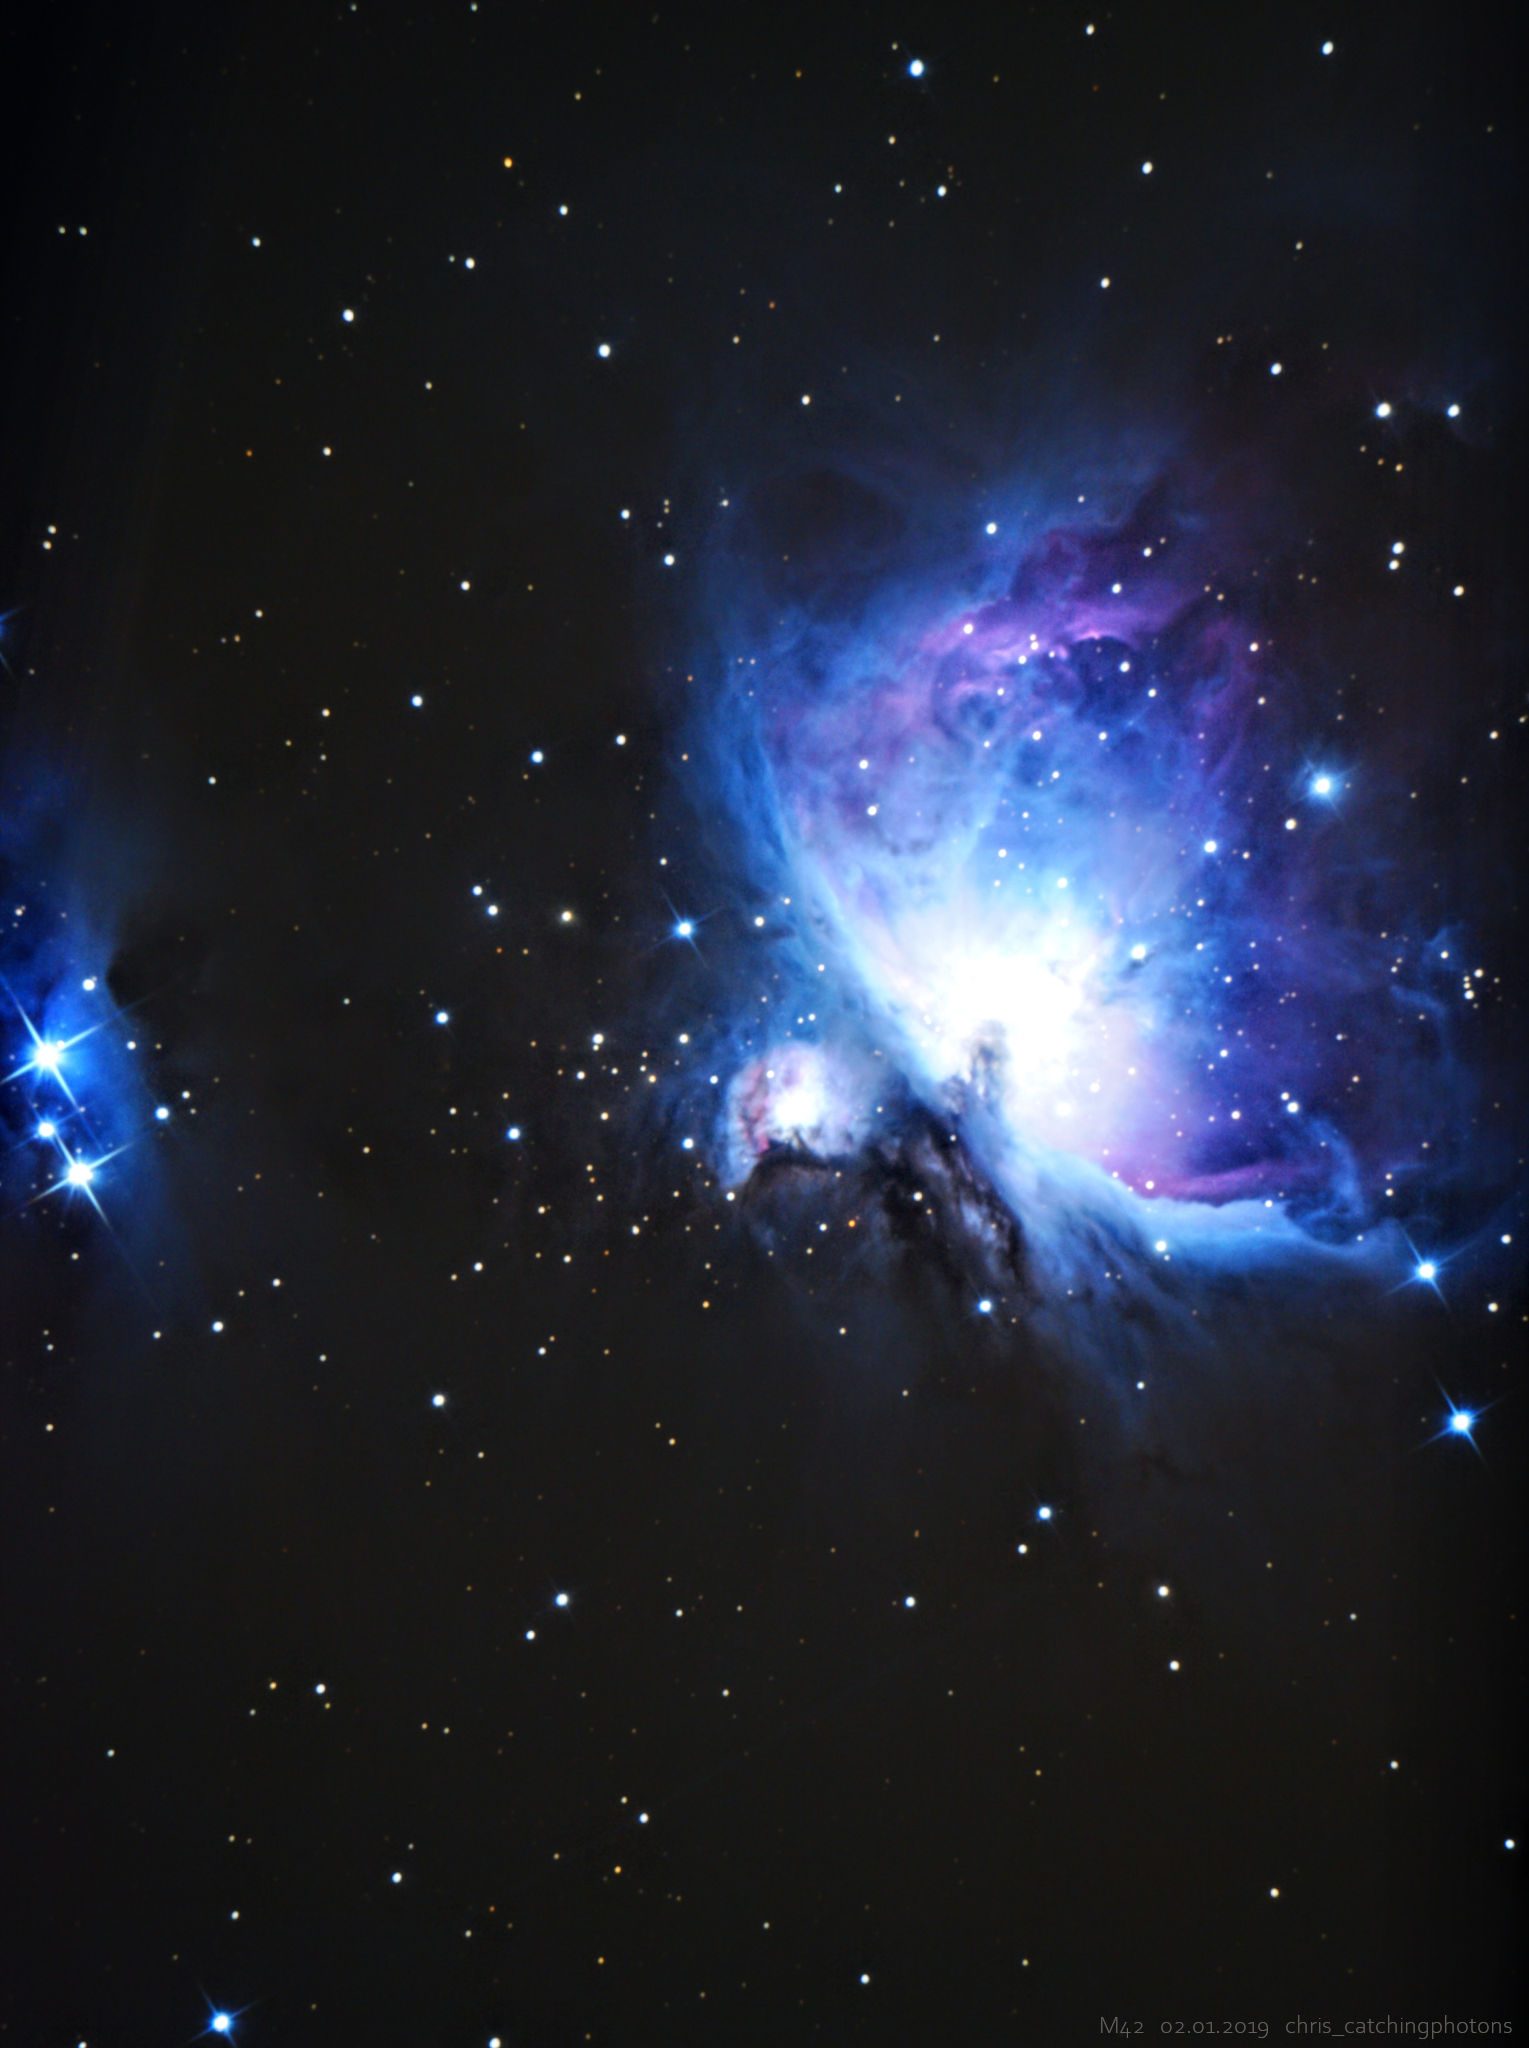
M42 – 2h37min: 60sec Sub @ ISO400 at -3C temp
Conclusions:
The main question was: Can I improve my data with an additional night? The answer is clearly: Yes!
Comparing parts of my image from last session with the combined image reveal just how important data is: The noisiness is lower and that means you can distinguish even fainter cloud details.

Whereas there were pixels in the first images, there is smoothness in the second.
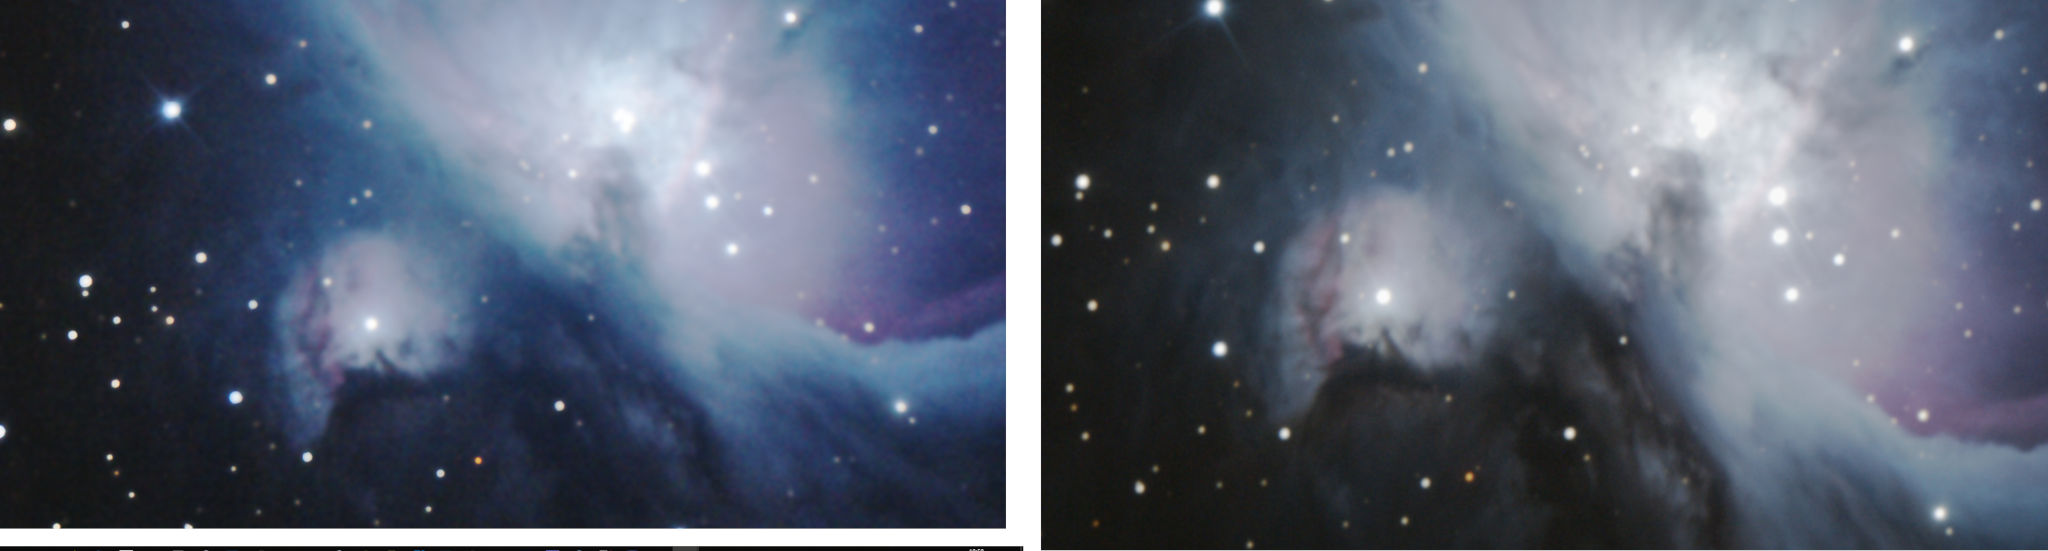
With more data comes the ability to stretch your data more without highlighting the noise. So in practise you can increase contrast as well as the differences between cloud layers can be separated much more.
Worth every minute!
Greetings,
Chris