05.03.2021
New aspect: Imaging a decently bright target with my new rig
Image acquisition & processing:
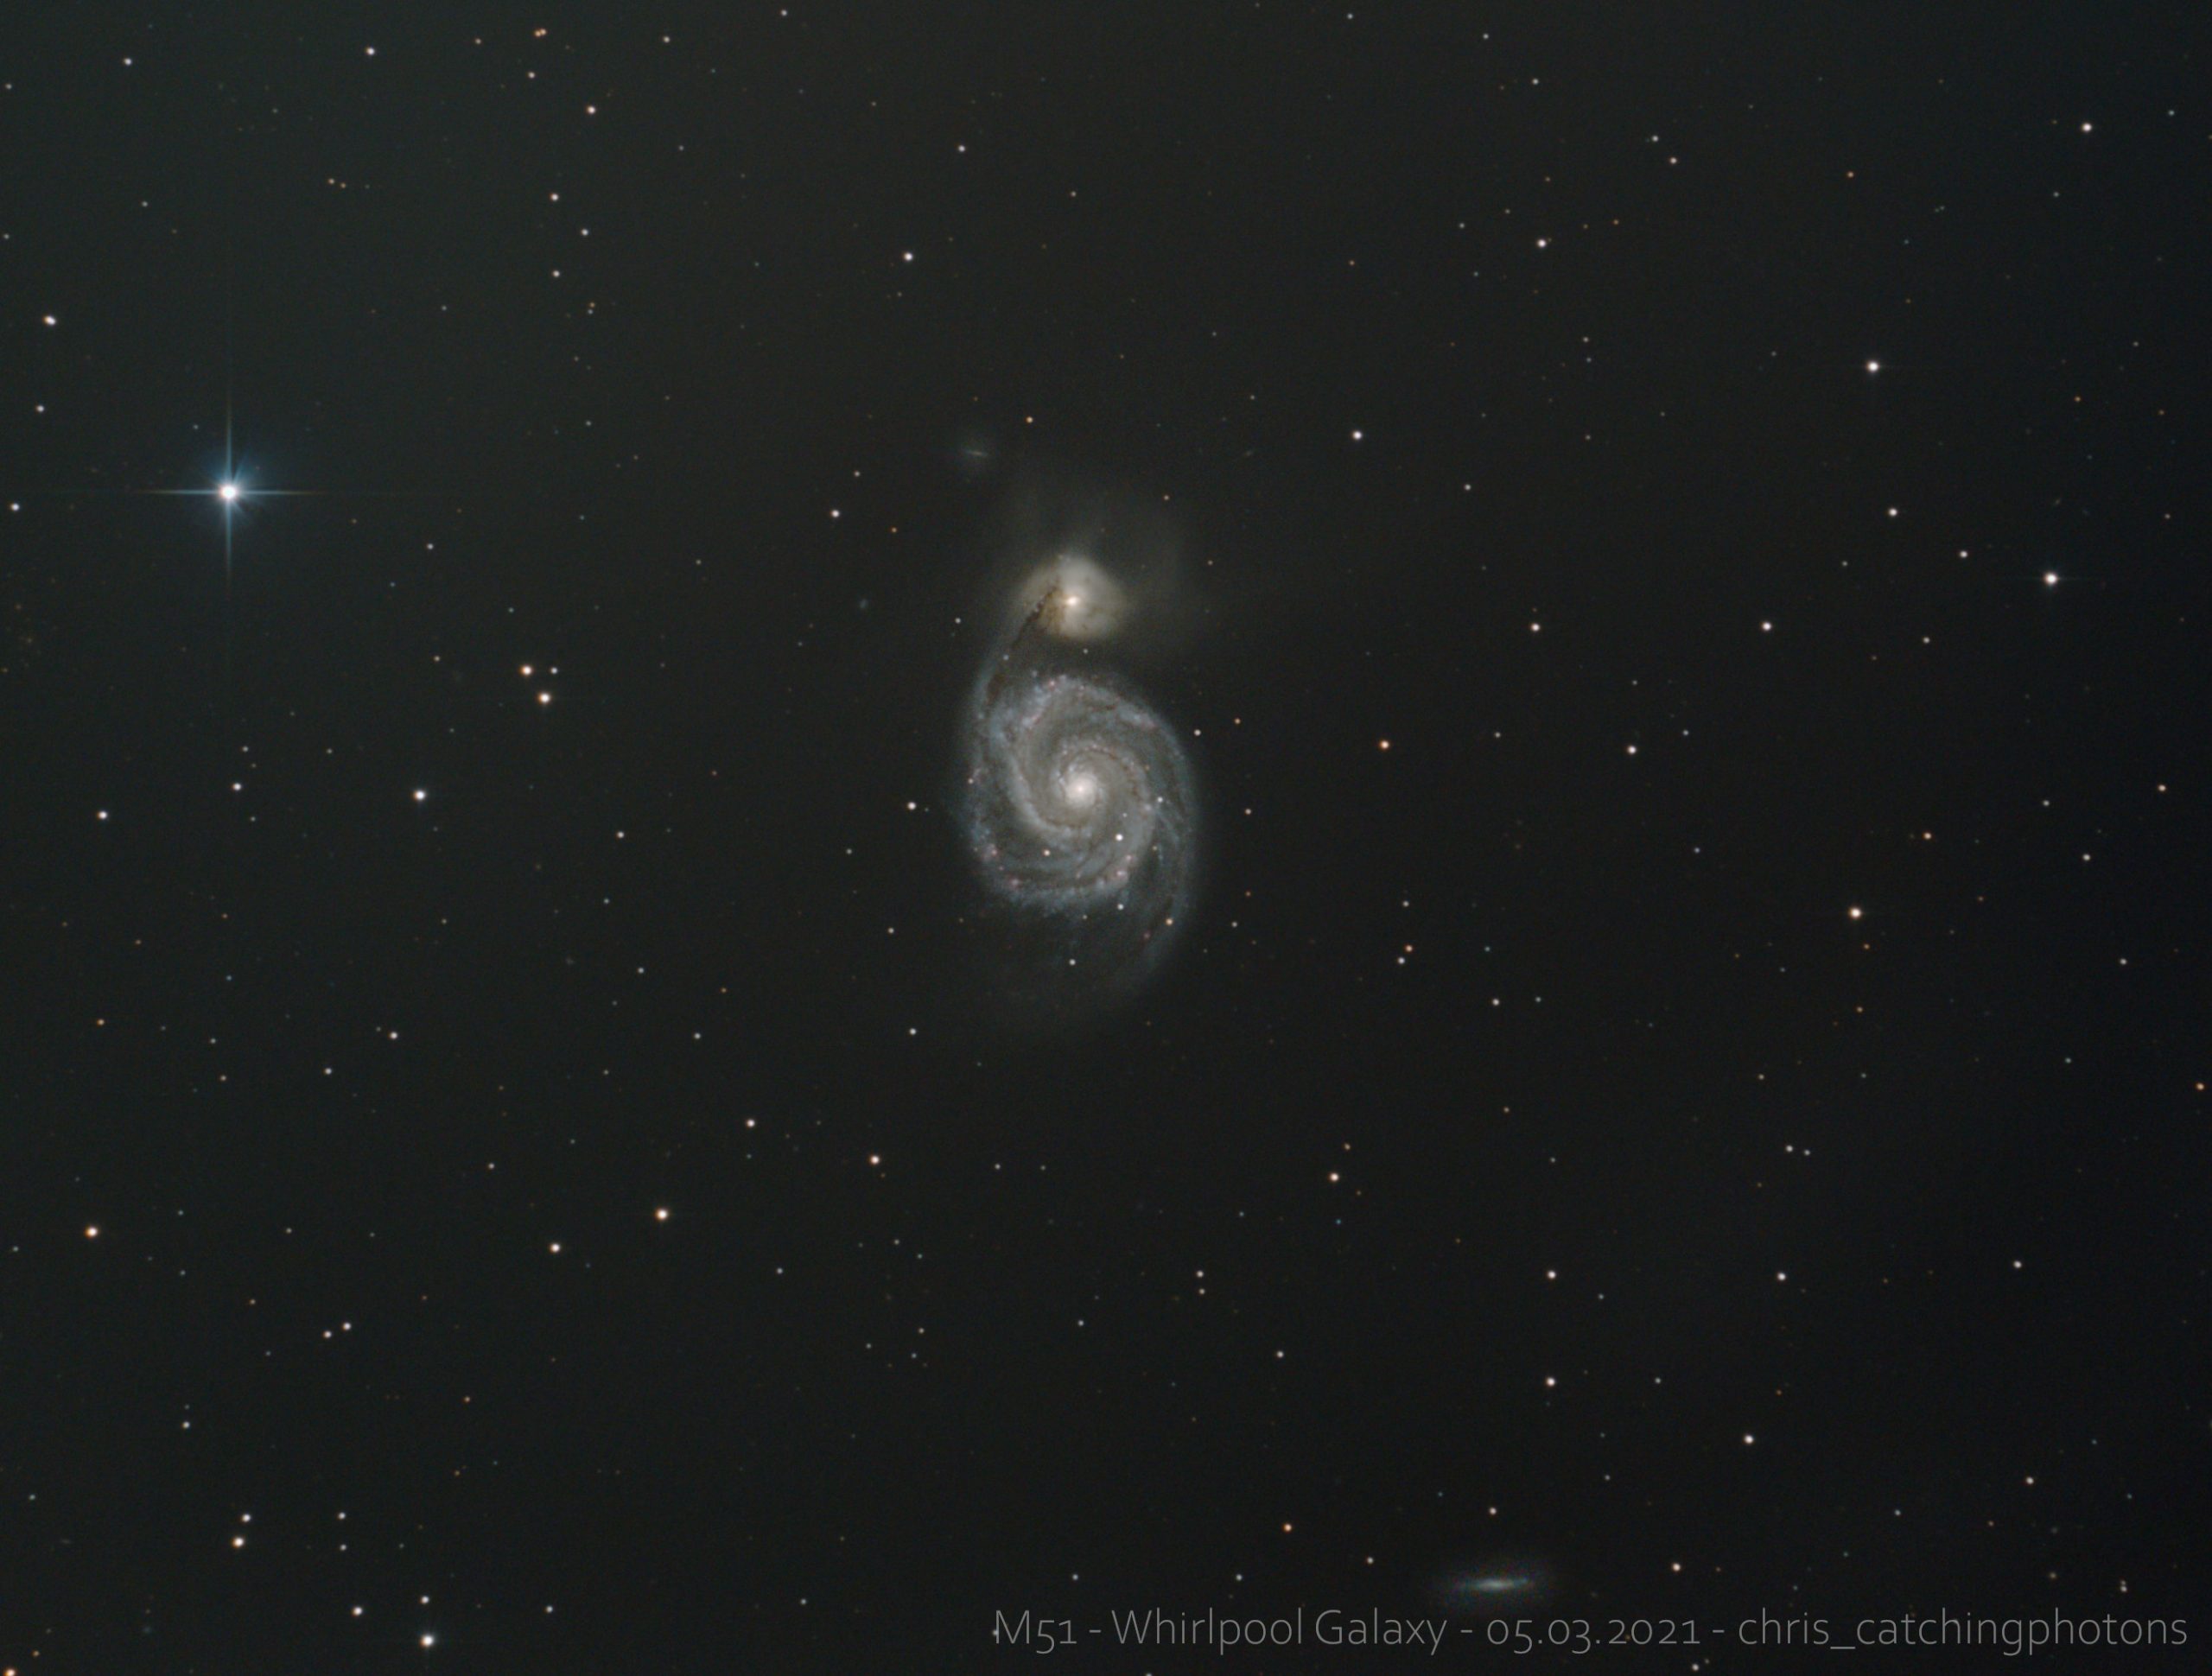
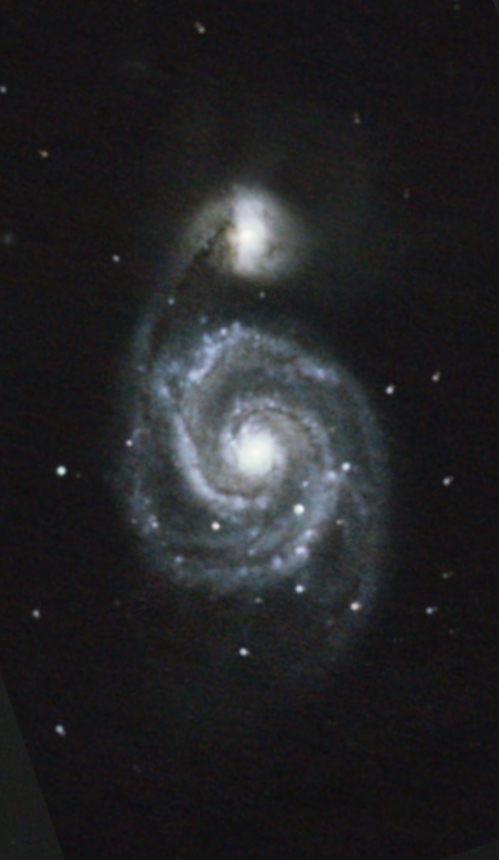
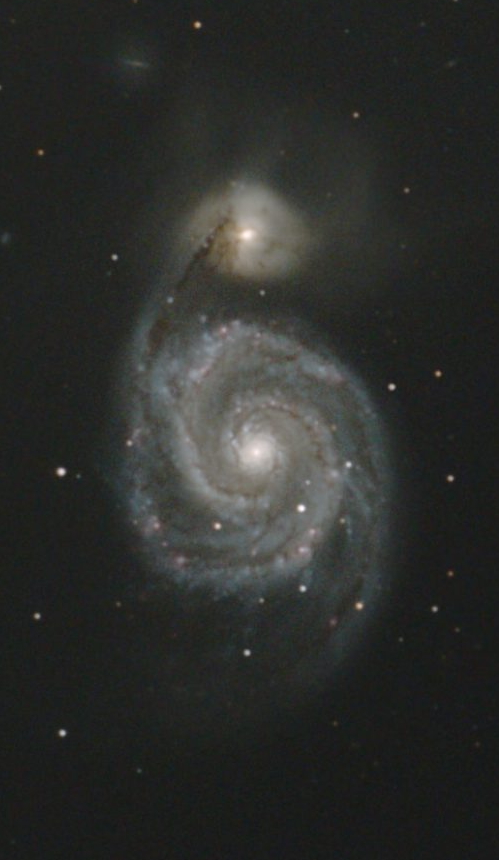
My new setup is ready and I was eager to use it for a bright and beautiful target – like the Whirlpool Galaxy. I imaged this particular galaxy before – check out this post – but this was with the old EQ3 and the dying Olympus DSLR. So not only was this a proof of my new rig but also a possibility to compare the two setups.
I set up my scope at nightfall. The benefit of having a shed for the scope is not to be underestimated! The complete rig is waiting for me and I just need to grab the scope, place it outside and the whole thing is running within minutes. Even the polar alignment is quickly done, because my house has a nearly perfect north-south orientation. So aligning the tripod legs with the bricks of my terrace gives me a pretty decent starting point.
Current setup steps:
- Get out the scope
- roughly point north
- level and balance (fine tuning)
- connect power to the mount & USB to the Laptop outside (long cable)
- power on the mount
- open SharpCap Pro and use the guide cam & guide scope to polar align the mount
- open Stellarium & AstroTortilla (plate solving) – connect the mount
- open APT and connect the DSLR
- GoTo the brightest star in the region of interest – plate solve on the way using test images of APT (.jpeg)
- defocus for fine tuning of collimation
- finding focus using a Bartinow-Mask
- slew to the target and frame is using plate solvin (AstroTortilla)
- power up PHD2 and start calibration
- start imaging session @ISO800 – 180s subs
Guiding trouble:
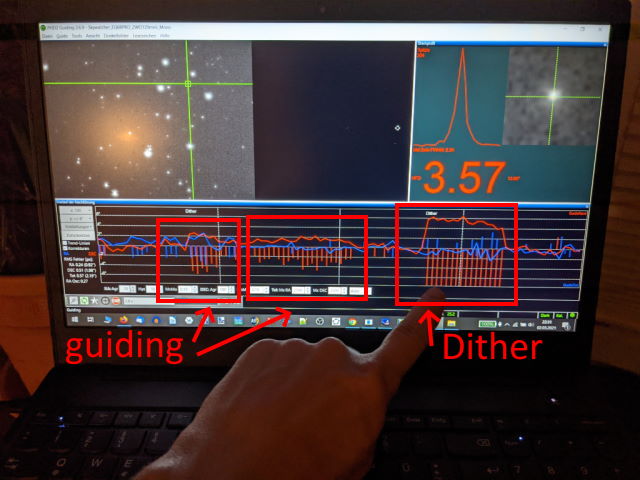
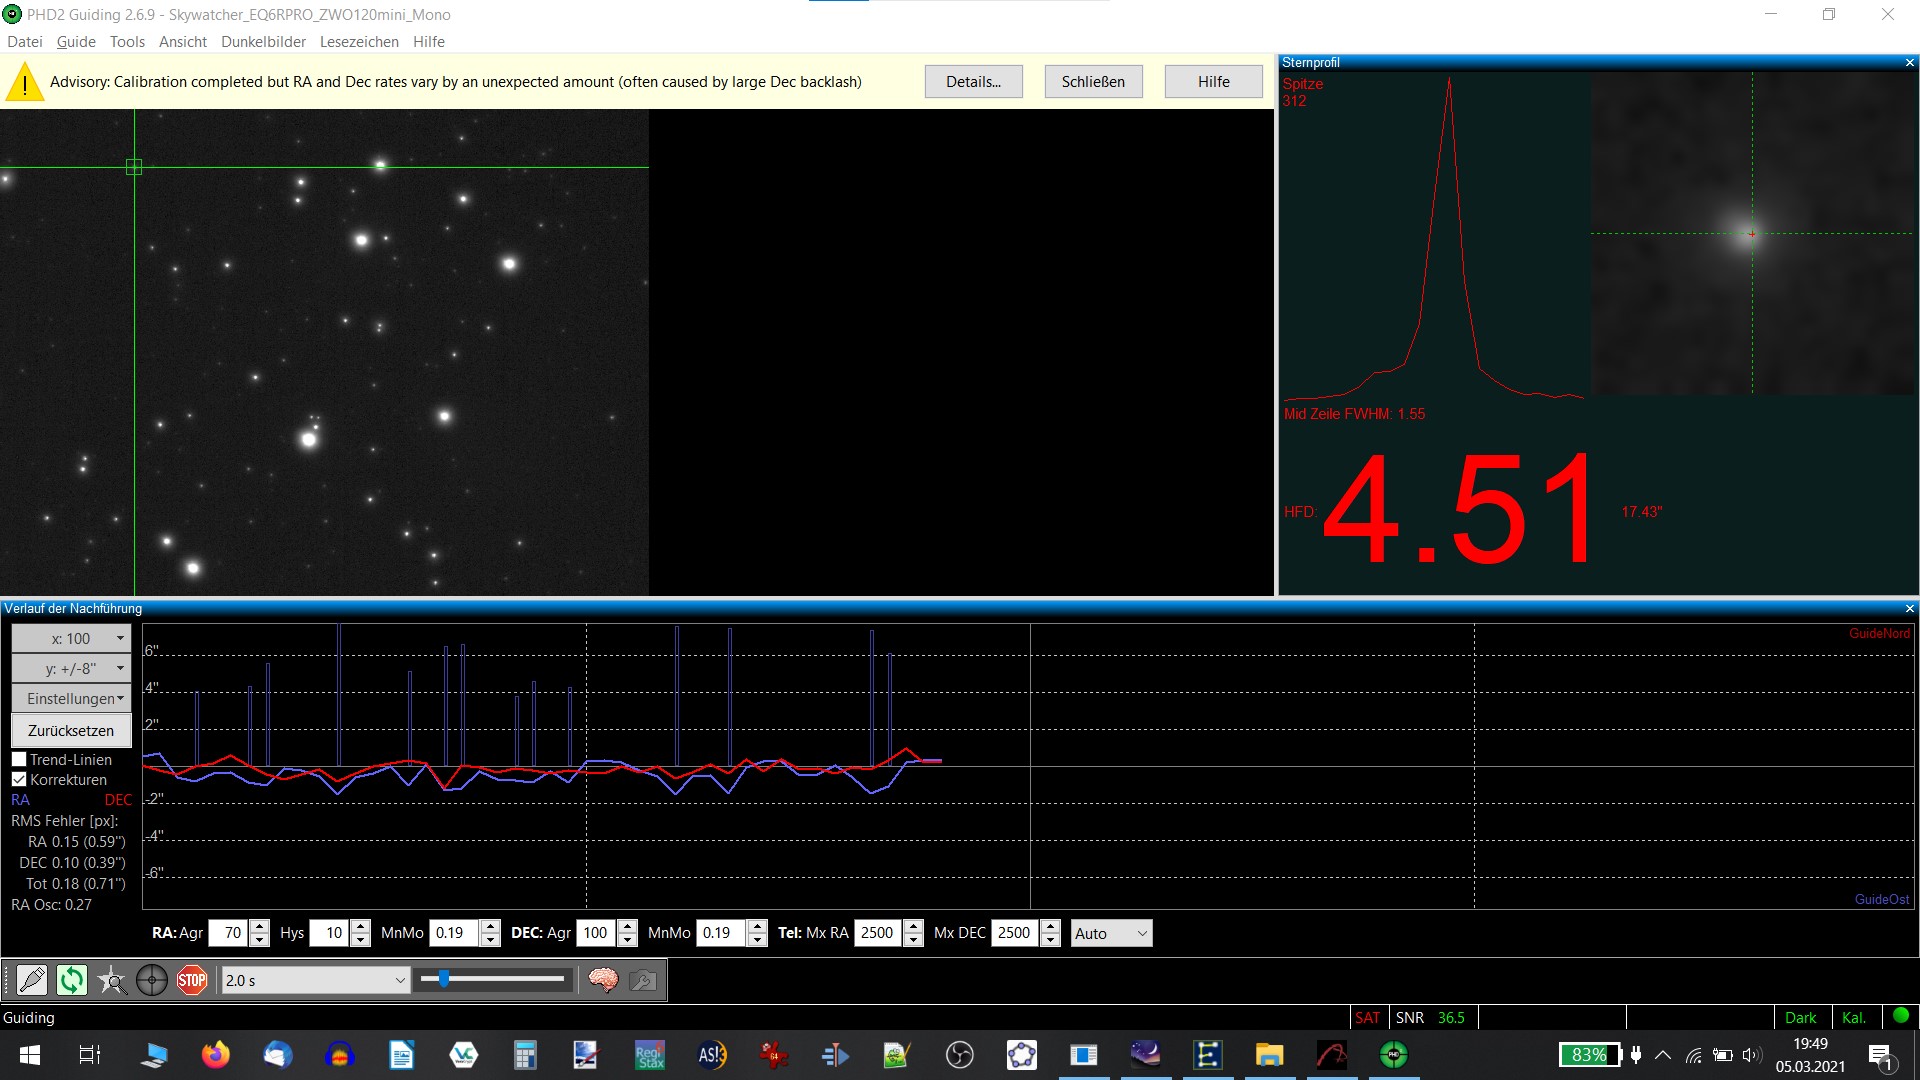
I had some problems with PHD2 and the initialization for guiding. PHD claimed that the DEC-axis had a major backlash – however: Within the imaging session I witnessed a bias within the DEC-axis towards one side but had round stars nevertheless. So up until now I don’t know what caused this error within initialization and guiding. Painful was the circumstance that PHD2 needed minutes (!) to recover after each and every dither step (see gallery image 1). That time could have been used for imaging integration time instead!
Processing:
Processing M51 was quite funny. I am no processing pro by any means – I am way too impatience to sit hours and hours in front of one image. So my results tend to look „quick and dirty“ – but whatsoever.
A) Stacking in Autostakkert! with all suggested settings set to „on“
B) Curve and colour stretching in GIMP2
The usual stretching within GIMP went as usual. Than I took a copy of the image, set colour level to gray scale and brought the background to zero and then brushed the stars away. I carefully left the galaxy with smooth edges. From here on I could use this as a nebula mask and apply changes in final stretching only to the galaxy while leaving the stars unaffected.
Polishing, noise reduction and slight sharpening – voilà.
Image specs:
69x 180‘ light frames @ ISO 800 => TiExT = 3h27min
20x 180‘ dark frames
20x flat frames
20x bias frames
Camera: Canon EOS 700Da
Mount: SW EQ6R Pro
Guidecam: Omegon Microspeed Guidescope 50mm
Guidecam: ZWO ASI 120mini-mono
OTA: Skywatcher Telescope N 150/750 PDS Explorer
Filter: Omegon Light Pollution Filter 2″
Software: APT, PHD2, DeepSkyStacker, Stellarium, AstroTortilla
Processing: GIMP2
Comparison:
Here you can see the image compared to the last result:
Conclusions:
Revisiting an „old“ target with newer mount and techniques is worth every shot! The details, the color, the stars: everything is richer in colour, smoother and the new image contains a lot more details within M51.
I LOVE GALAXIES!
The thought alone that we CAN image those islands of stars, millions of lightyears away, just using our amateur equipment: This blows my mind! Every single time! So let’s go: It’s galaxy time! 🙂
Clear skies!